By Louise Phillips
Veganuary Cooking Tips
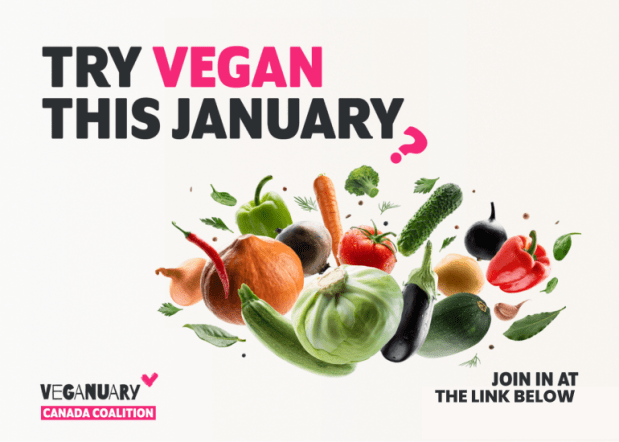
Veganuary is an exciting time to begin your vegan journey! This guide will provide some vegan cooking tips to help make your Veganuary experience tasty and stress-free.
Vegan cooking is incredibly versatile and can suit a range of tastes and budgets. Most vegan recipes utilize the same skill sets as their non-vegan counterparts – for example, sauteing onions to add flavour to stews, curries and soups or grilling vegetables to bring out their flavour. The only difference is that vegans substitute animal products for plant-based versions of butter, milk, meats and eggs.
General Tips
Veganize your favourite meals
Make vegan versions of your favourite dishes instead of forcing yourself to change your palette completely. For example, use crumbled tofu to make the mince for spaghetti or create vegan versions of your favourite butter chicken recipe using chickpeas, tofu or seitan.
In the same vein, continue cooking with your favourite flavours! A huge range of popular condiments are accidentally vegan. This includes sriracha sauce, some barbeque sauces along with balsamic-based salad dressings. Read the labels carefully to make sure there are no animal ingredients. Here is a list of non-vegan ingredients to look out for when searching for accidentally vegan products.
Plant-based meats
If you are new to veganism it might take a bit of trial and error to find your favourite plant-based meats.The benefit of store-bought vegan meats is that they are relatively simple to cook and can save time during a busy weeknight. Large brands like Beyond Meat and Impossible have created popular copies of beef burgers and chicken nuggets but these products tend to be expensive. Try a few plant based meats from the grocery store and local businesses (like Little Jo Berry’s) to find one that suits your taste.
Browse blogs and cookbooks for inspiration
Vegan cooking has evolved a lot over the past decade and there is a vast catalogue of vegan blogs and cookbooks. Peruse blogs like Vegan Richa, Nora Cooks, It Doesn’t Taste Like Chicken and Mary’s Test Kitchen to get ideas. The Ottawa Public Library has a lot of vegan cookbook titles to choose from, including popular favourites like The Veganomicon by Isa Chandra Moskowitz and Hot for Food: Vegan Comfort Classics by Lauren Toyota. Books about more specialized cuisines like French, Chinese and Indian cooking are also available.
Essential Vegan Ingredients
The vegan diet is diverse but there are a few key staple ingredients that are helpful to know about.
Tofu
Tofu is a staple of the vegan diet. Tofu can be used for anything from mince in burritos, protein in stir fries to fish alternatives. You will likely see at least three different types of tofu on grocery shelves:
Silken tofu – this type of tofu is very soft and is typically used for tofu scramble, sweet puddings and as an ingredient in miso soup.
Medium-firm – this type of tofu is probably the most versatile and can be used to make all types of dishes, including mince for burritos or spaghetti.
Firm and extra-firm – this type of tofu is usually used to make crispy tofu for stir fries.
Whichever type of tofu you are using, it is important to drain the tofu before you begin cooking with it. If you don’t want to invest in a fancy tofu press, the tried and tested method is to take the tofu out of the packet, place the tofu block between two plates and then add cans to the top to press the plates together. Your tofu should be pressed and ready to go in about two hours.
Freezing and boiling tofu before cooking can add extra texture to your meal but these steps are not necessary to make your meal tasty.
Lentils, beans and other types of pulses
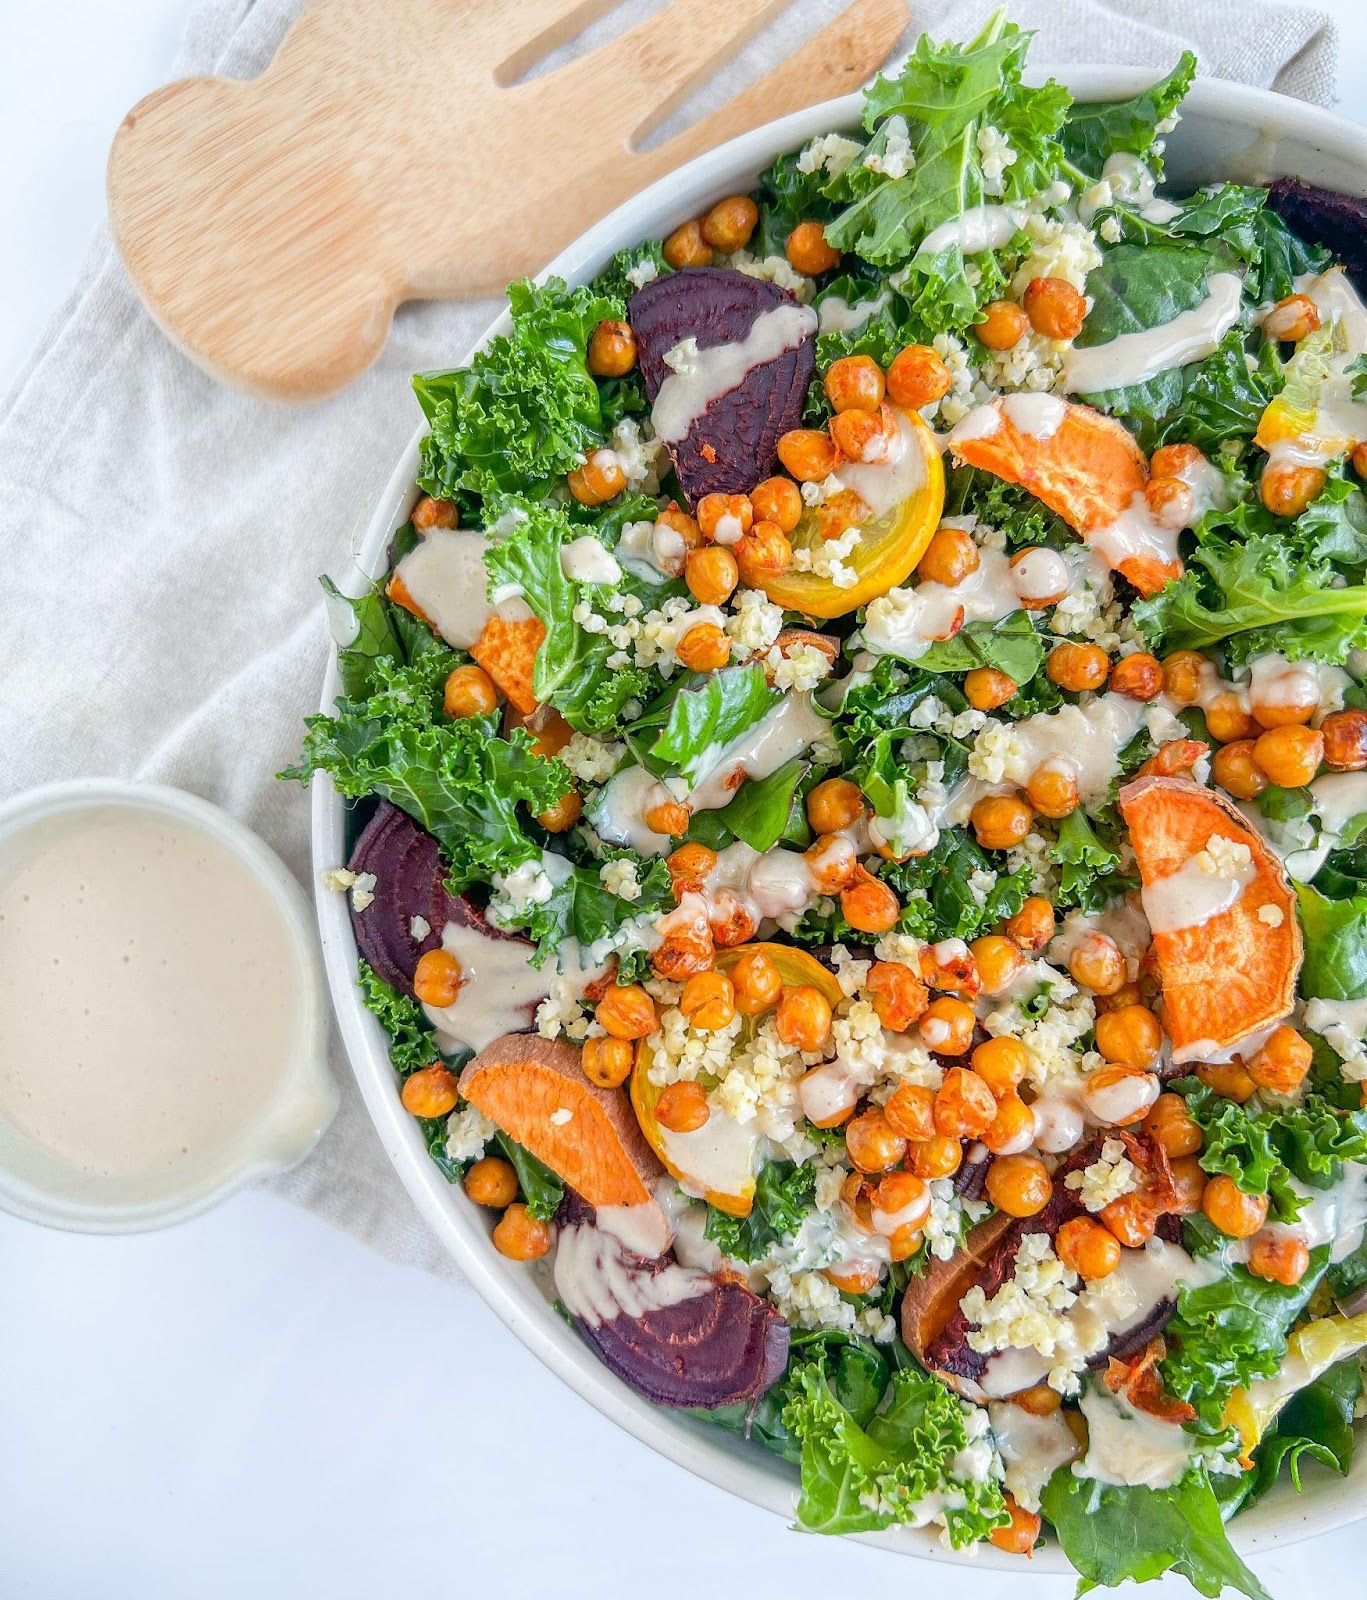
Pulses are another incredibly versatile staple of the vegan diet. You are likely very familiar with pulses if you have experience with Middle Eastern or South East Asian cooking. However, here are the common uses of pulses in vegan cooking in case you are a pulse novice.
Lentils – dahls, meatballs and vegan egg
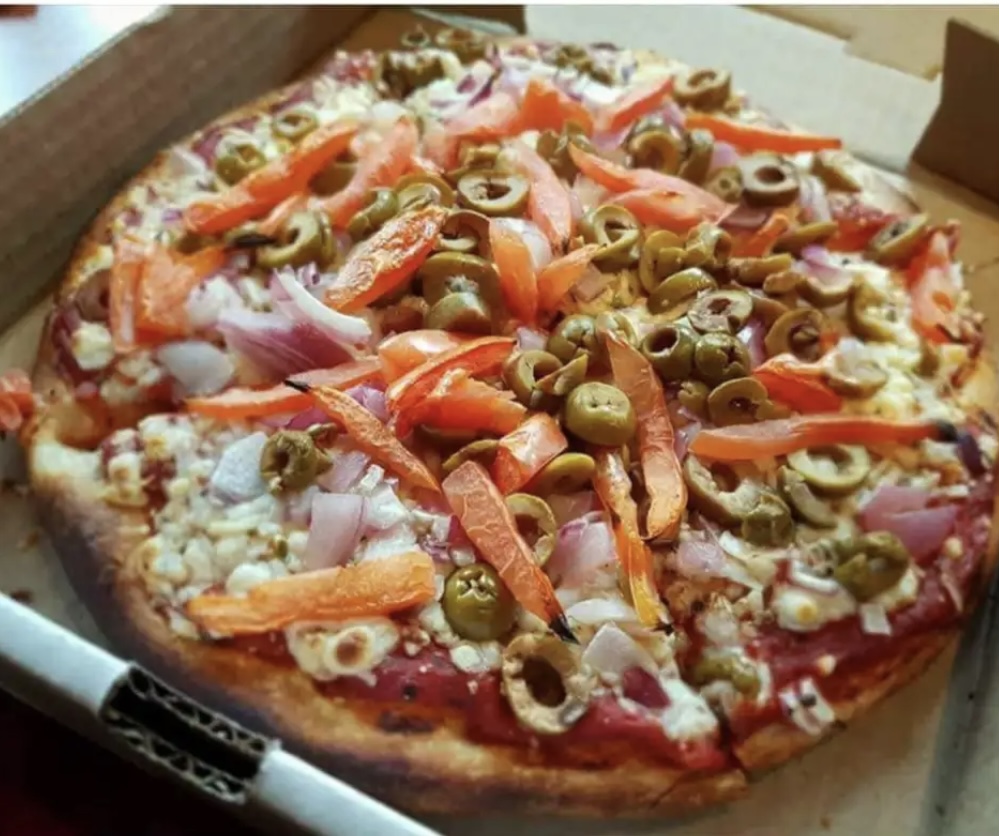
Chickpeas – curries, sandwiches, salads, roasted to make on-the-go snacks
Pulses are available canned or dried at the grocery store. Canned pulses tend to be easier to cook with as they require less prep work before adding them to your dish. Dried pulses need to be soaked overnight and boiled before you can eat them.
Nutritional Yeast
Nutritional yeast (colloquially known as “nooch”) is a seasoning that adds a cheesy/nutty flavour to dishes. Nooch is incredibly high in B12 and is a nice addition to pasta dishes and potatoes.
Tempeh
Originally from Indonesia, tempeh is a protein made from fermented soybeans. Tempeh is often used to add protein and texture to stir fries. It can also be used to make vegan bacon. Tempeh is
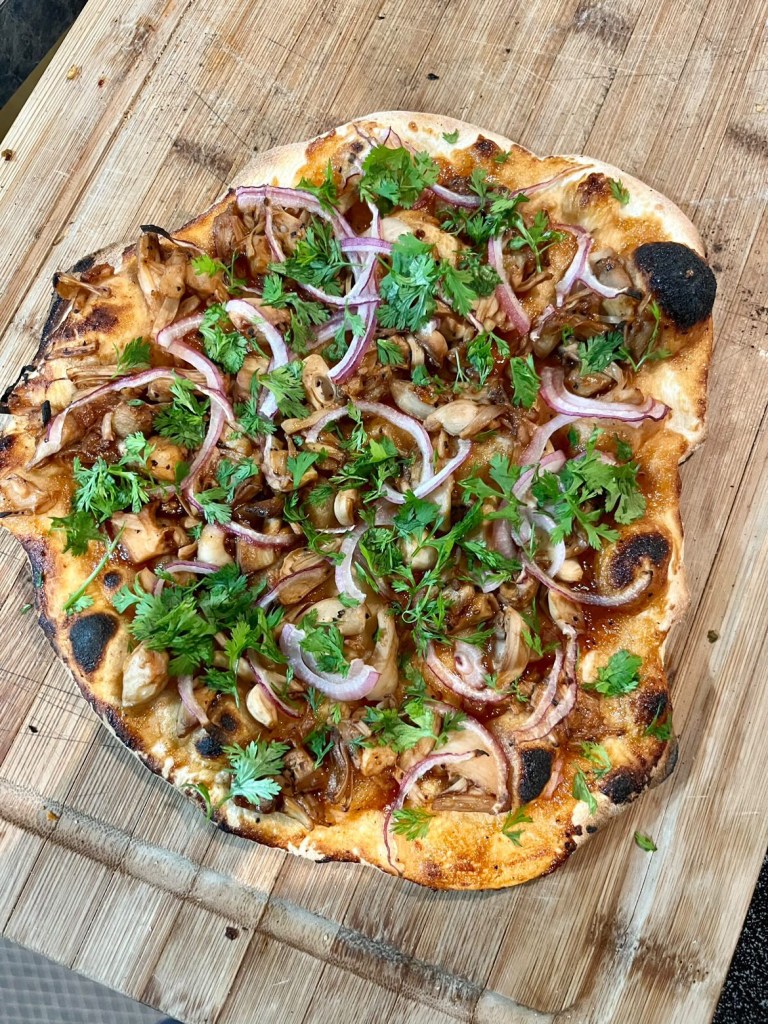
Jackfruit
Jackfruit is a large fruit that is typically used to make pulled pork sandwiches and taco meat. You can buy whole jackfruits but it is easier to purchase canned versions at your local grocery store.
Seitan
Seitan, otherwise known as vital wheat gluten, is another common vegan protein. It is often used to make vegan chicken.
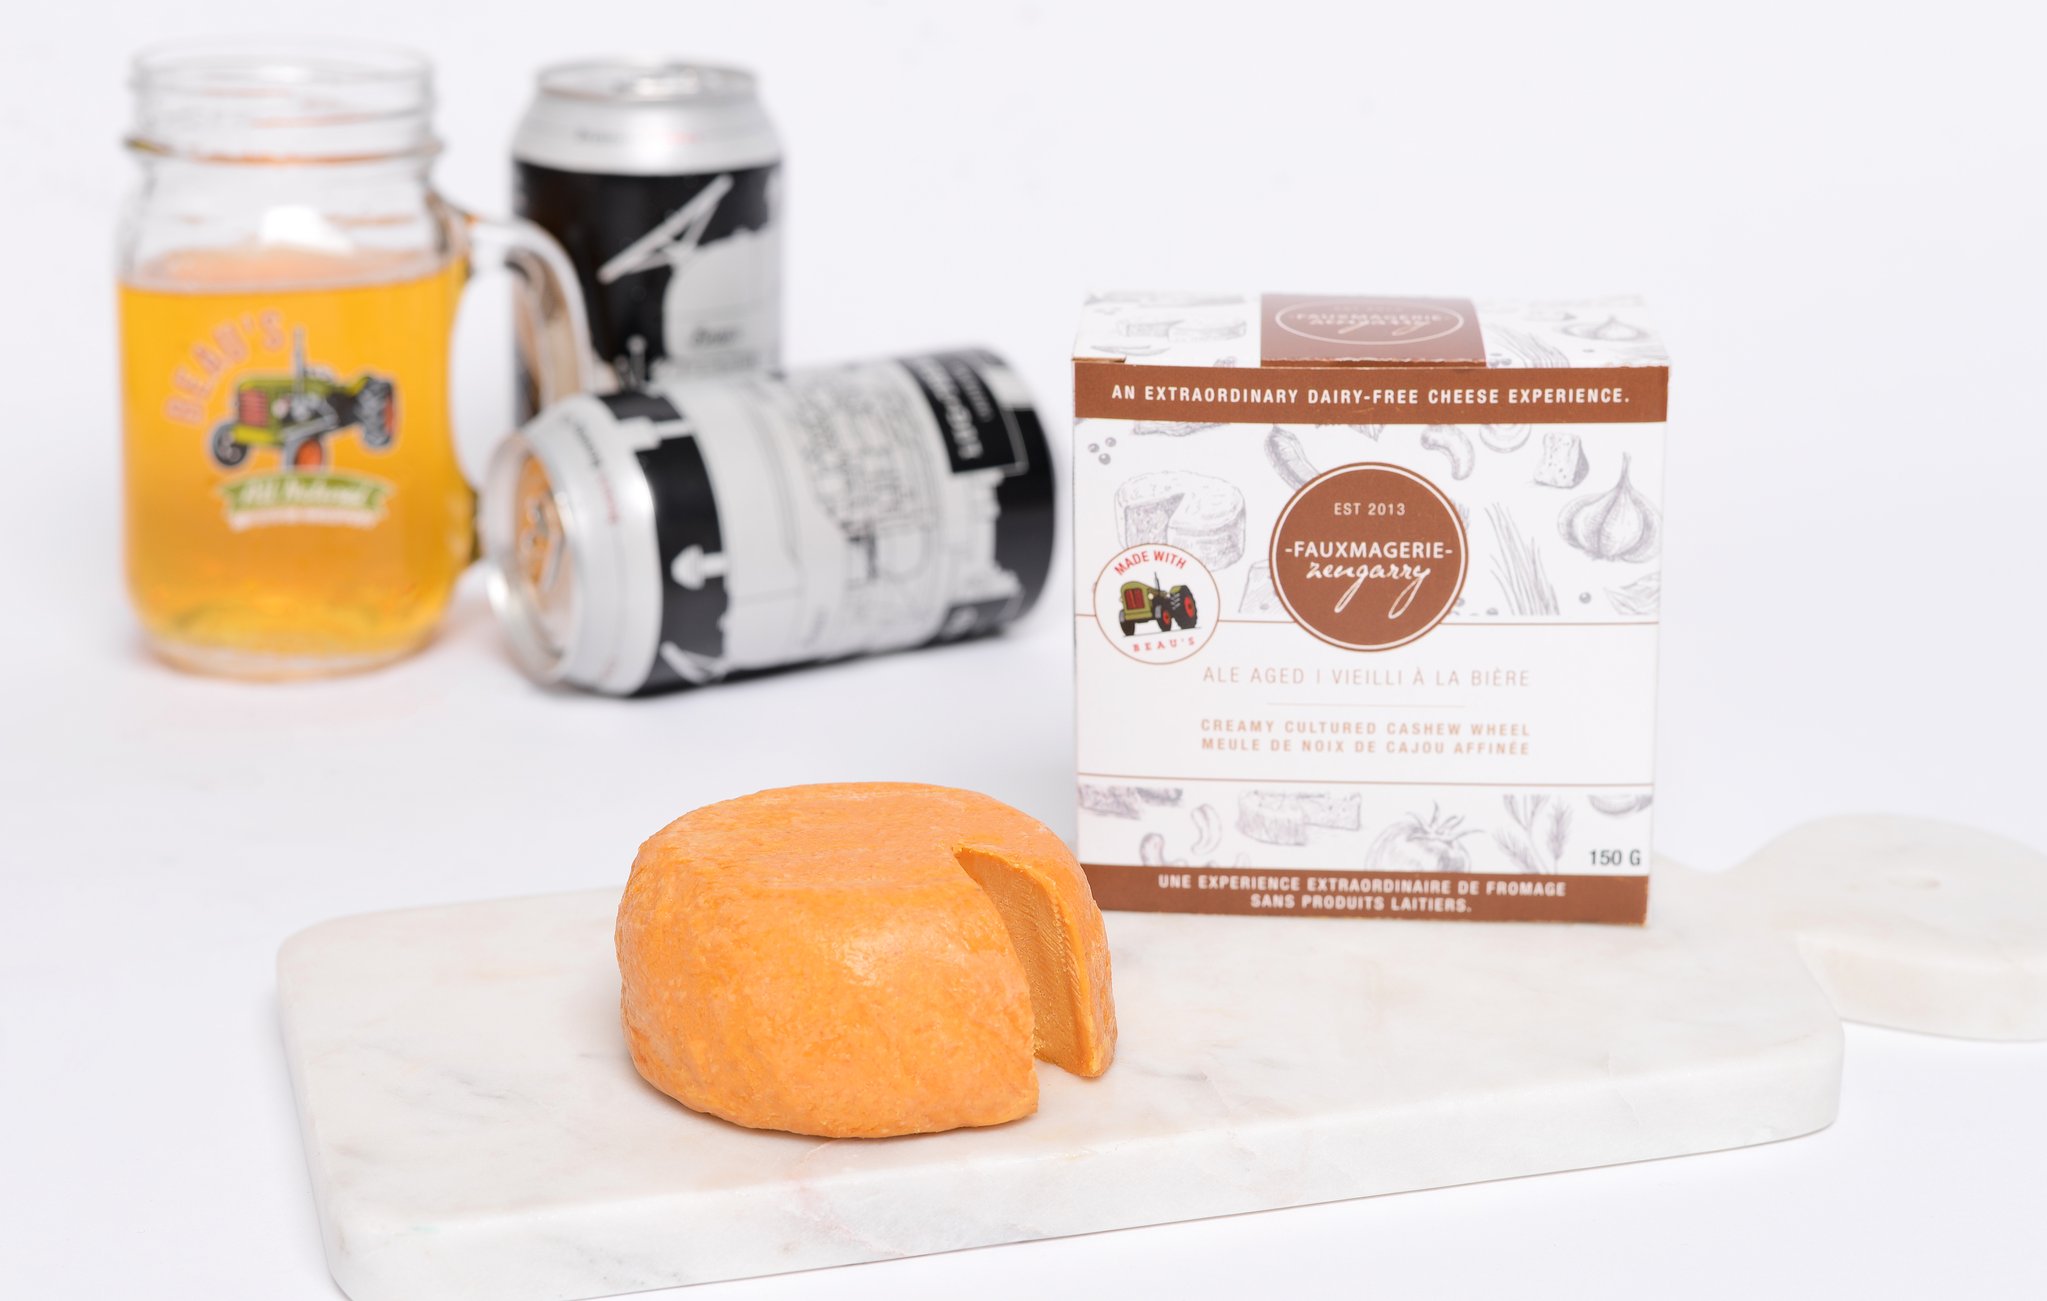
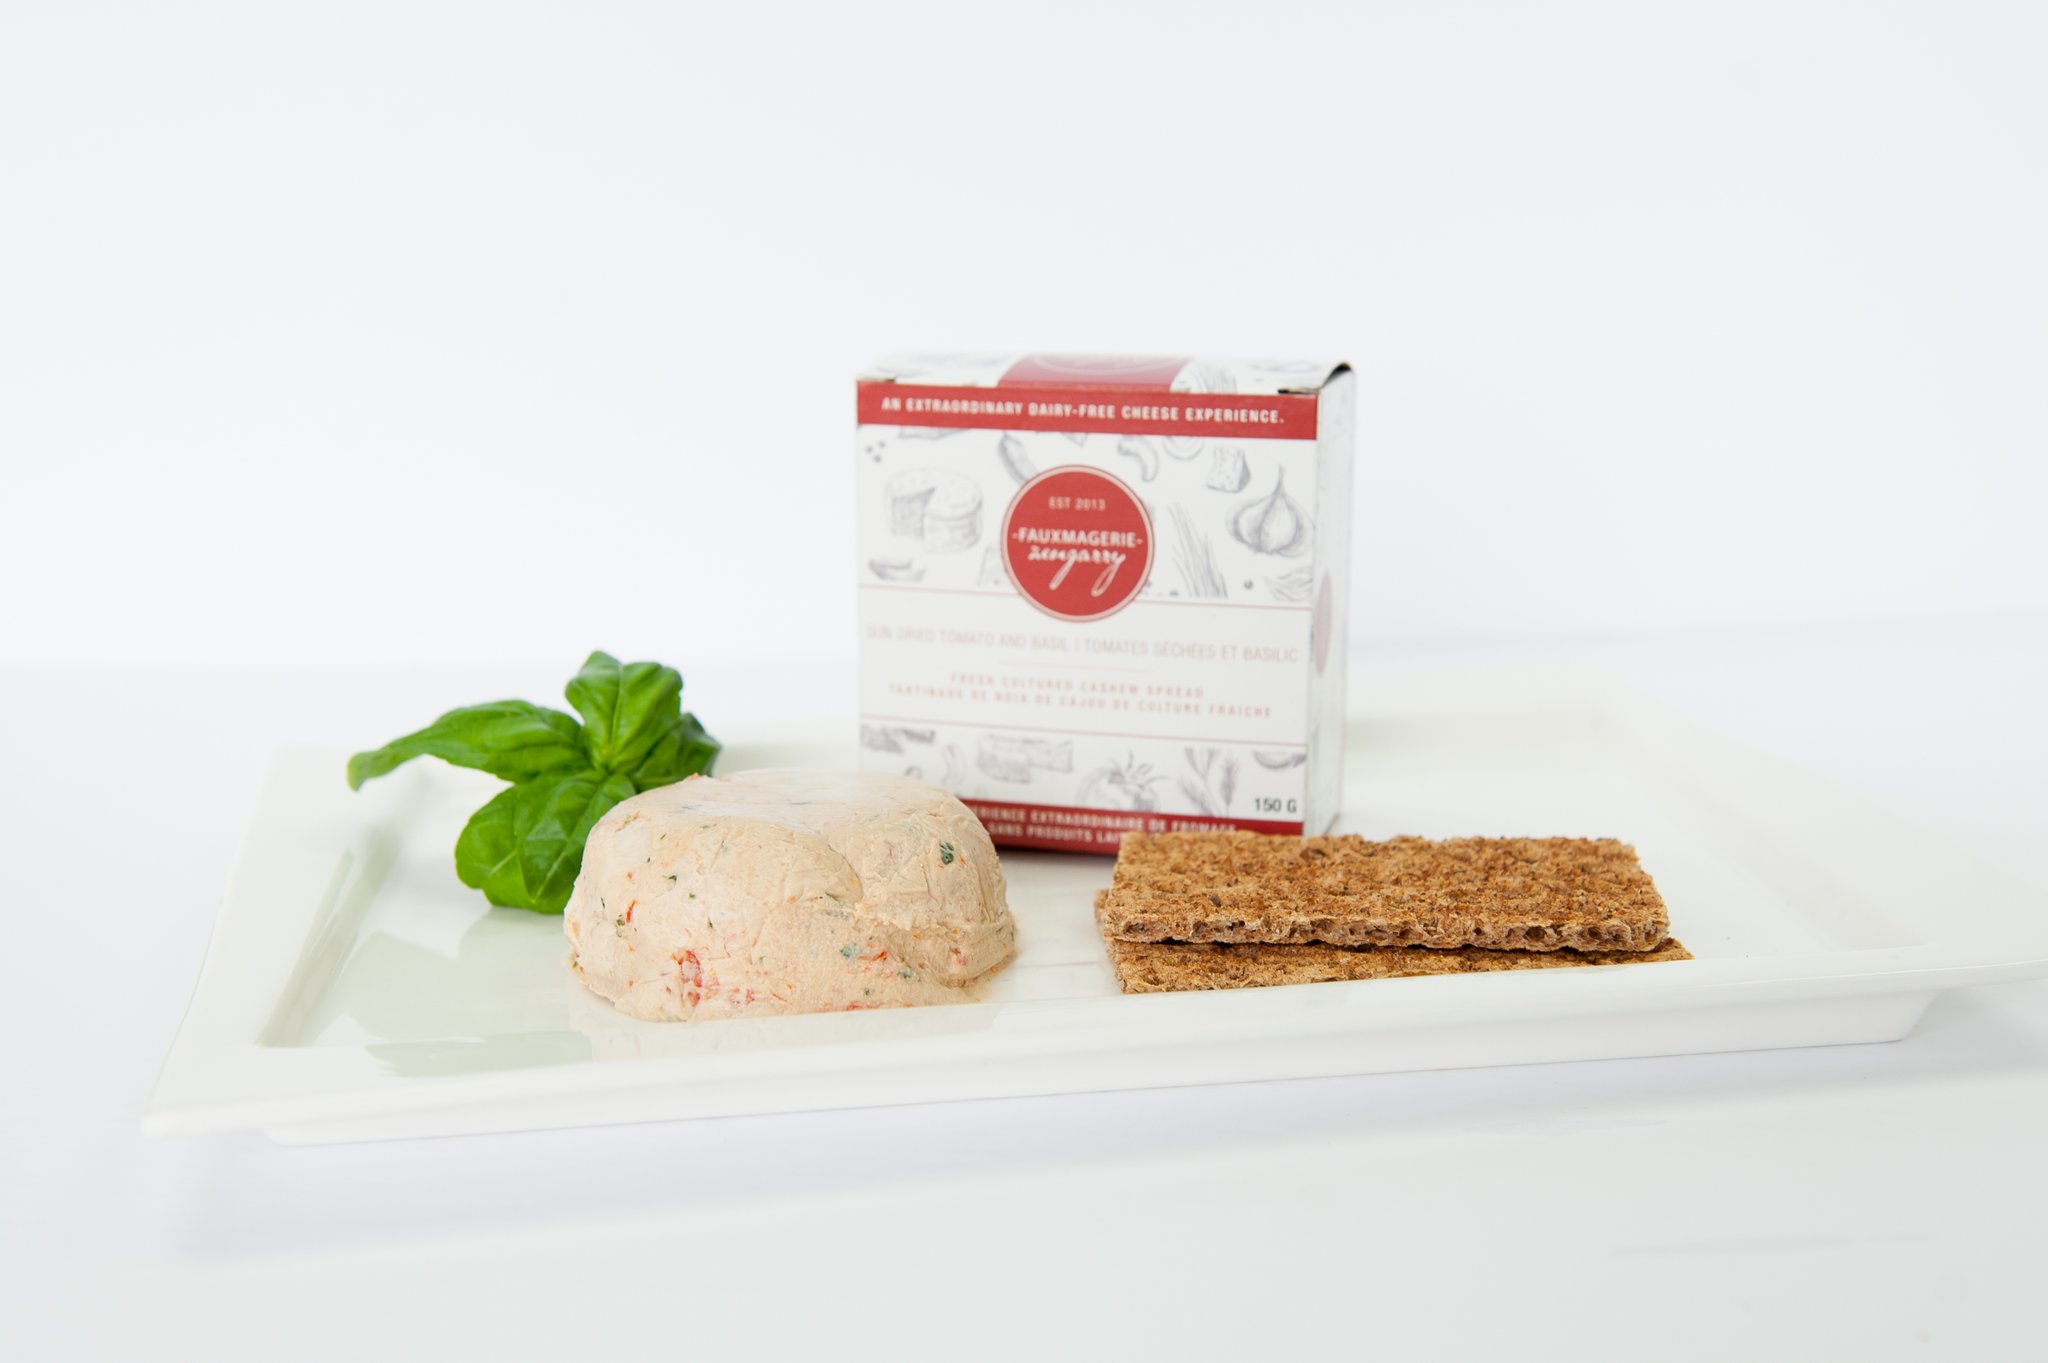
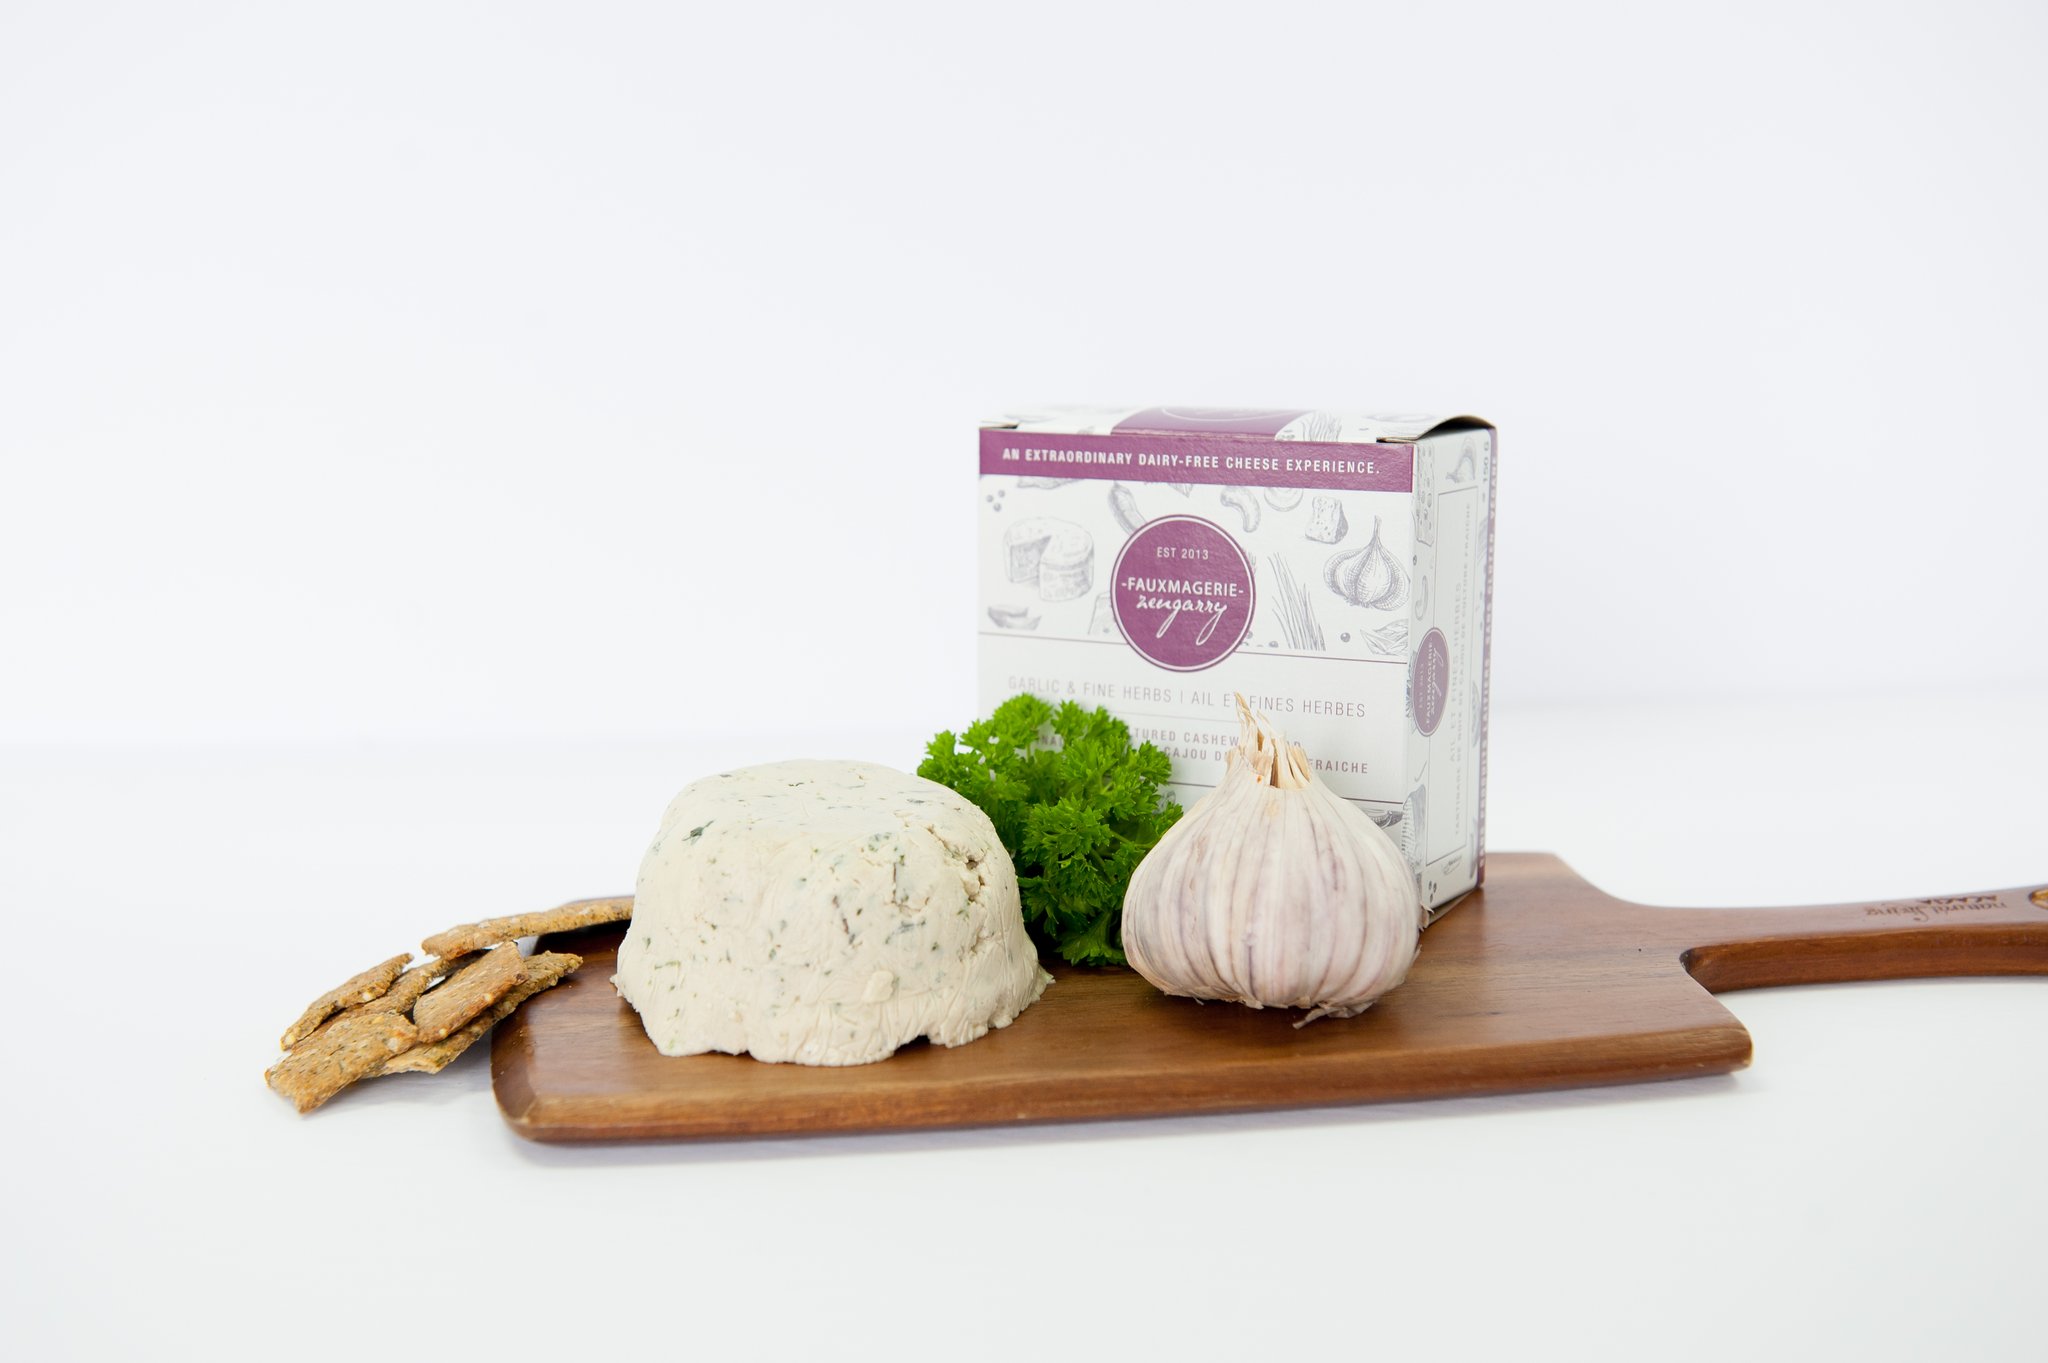
Soy Cream
Soy cream can be used in recipes that call for cream, including curries and scalloped potatoes.
Vegan Meals Ideas for Breakfast, Lunch and Dinner
Now you have an idea of the common ingredients in vegan cooking, here is a list of meal ideas with links to recipes. This list is definitely not exhaustive but it should give you a starting off point to build your own Veganuary cooking routine.
Breakfast
There is a vegan breakfast recipe for all tastes, whether you prefer your first meal of the day to be savoury or sweet.
Tofu scramble and Home Fries
Lunch
Here are some vegan lunches that are perfect for busy days!
Plant based “Chicken” soup
Dinner
Whether you are cooking a weeknight meal or entertaining friends, protein is almost always the centerpiece of a dinnertime meal.
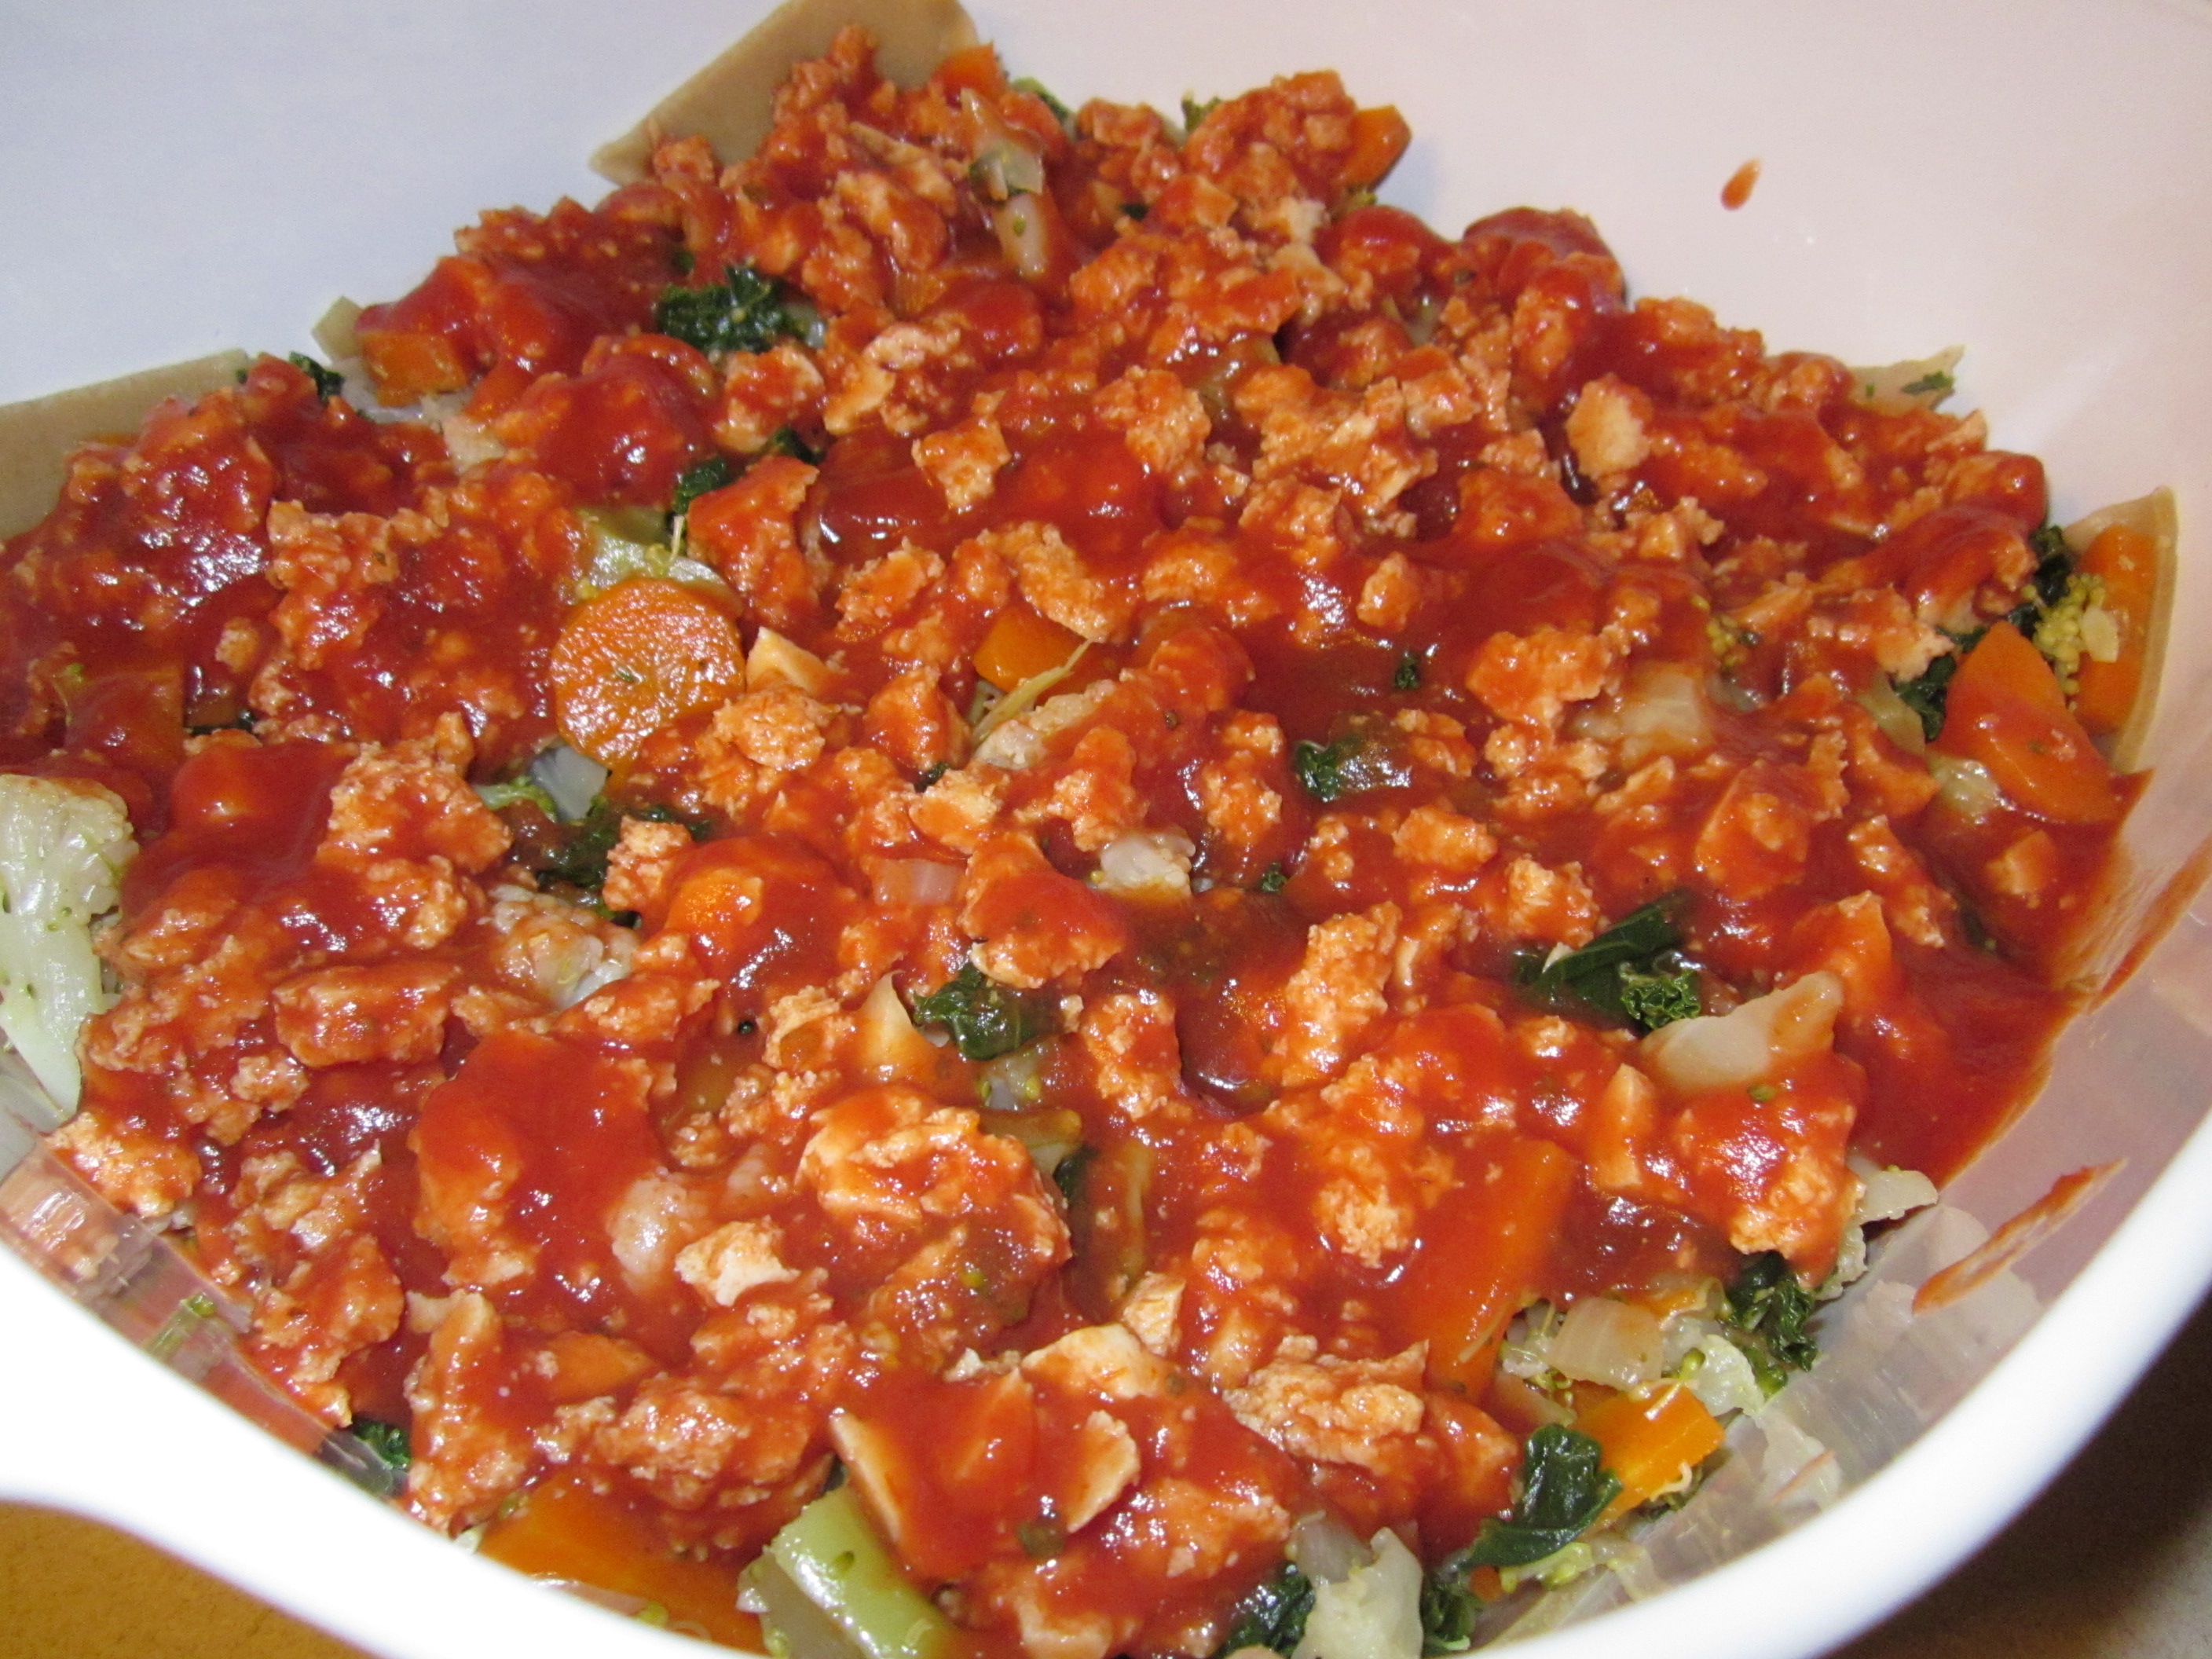
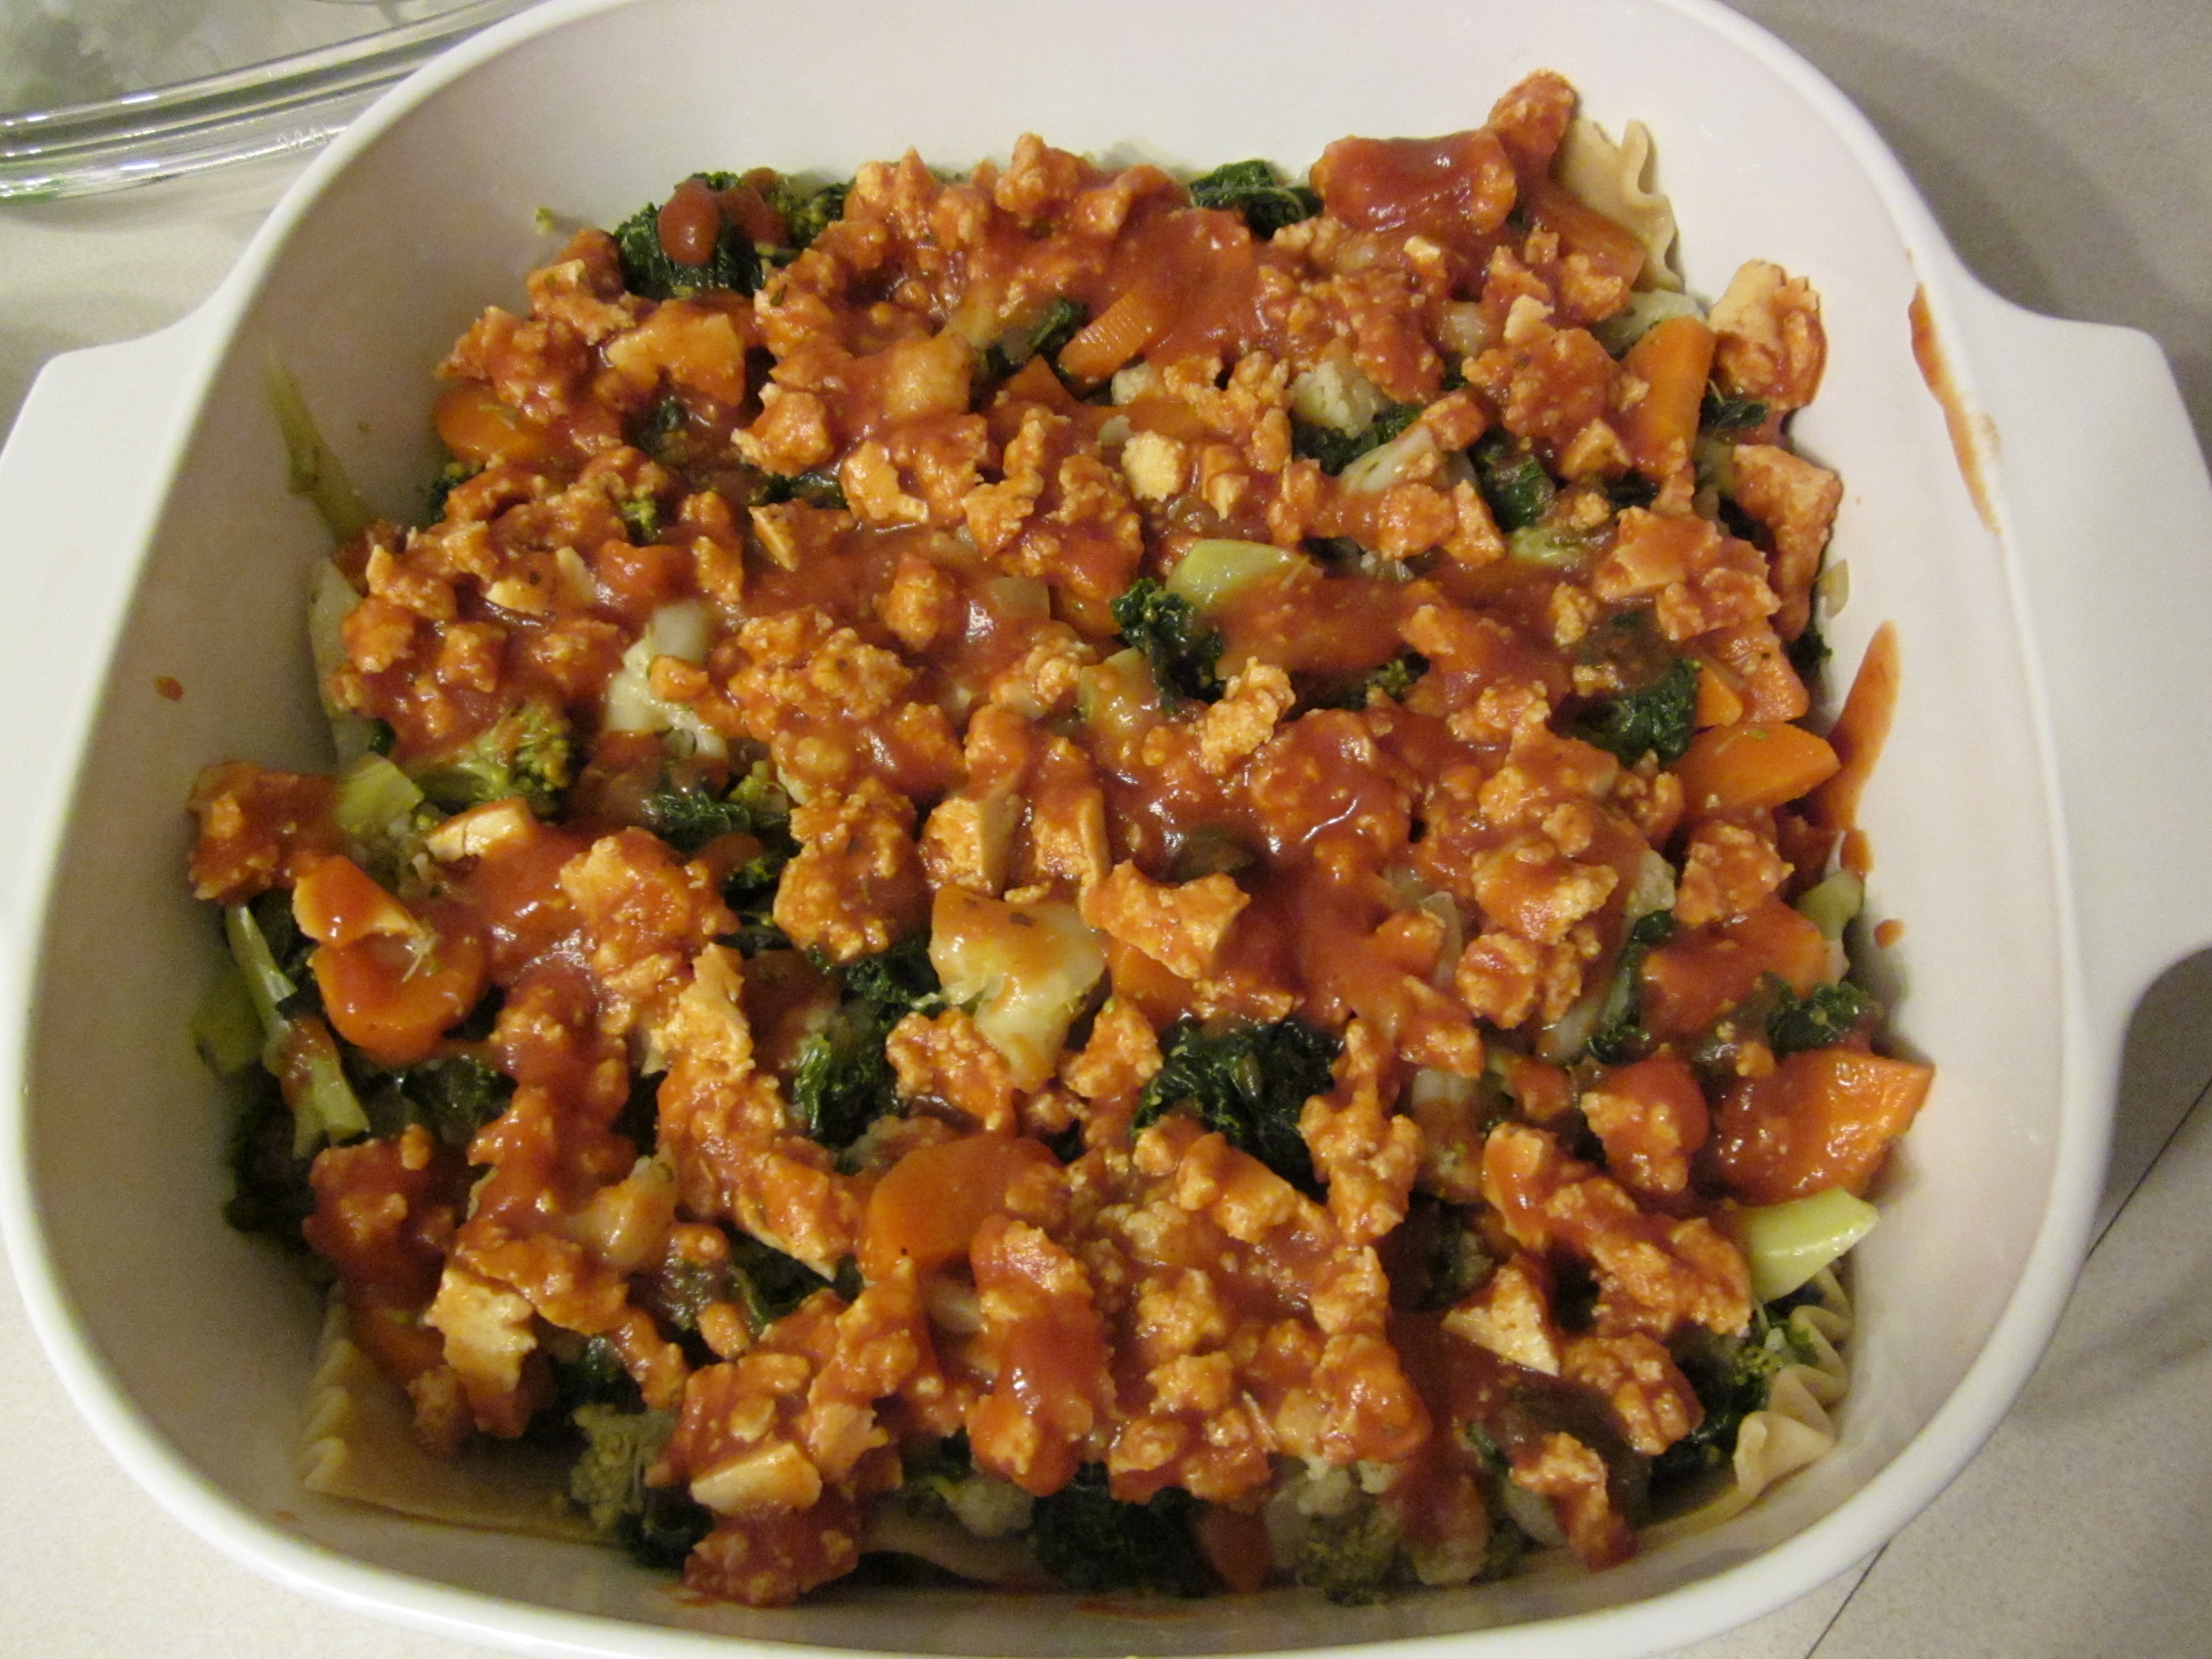
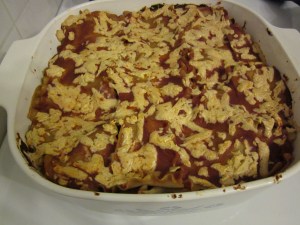
Spaghetti* and garlic bread.
Tofu butter chicken and rice
*Most store-bought tomato-based pasta sauces are plant-based but be sure to check the label.
Finally, reach out to the vegan community for ideas and advice. Join the Ottawa Veg Community Discord and come out to the Ottawa Vegan Meetup events to meet like-minded people.
Join Veganuary! Sign up here (free!)