This recipe is super simple but creates elegant-looking pieces of chocolate bark that you can serve at a party, give as a gift or use to satisfy a chocolate craving.
It’s also highly versatile so feel free to play around with different mix-ins. If you’re a fan of the popular Peppermint Pretzel barkTHINS for example, you could use chopped pretzels, candy cane pieces and a pinch of sea salt. If you like the pecan-caramel combination, try chopped dates and pecans and a handful of toffee pieces. If you prefer fruit and nut chocolate bars, try adding chopped almonds, peanuts and cashews and raisins.
Enjoy!
Homemade Chocolate Bark
Vegan | Gluten-free | Soy-free | Nut-free option
Makes one large baking sheet of bark
Ingredients:
- 500 grams good quality dairy-free dark chocolate
(baking chocolate, molding chocolate and chocolate chips/bars should all work well) - 1/2 cup shredded, unsweetened coconut
(Costco sometimes carries Sunblest brand, which I love because it doesn’t have sulphites) - 1/2 cup seeds and/or nuts
(I wanted a nut-free version so I used sunflower, pumpkin and chia seeds) - 1/3 cup dried fruit
(I used unsweetened cranberries and wild blueberries)
Directions:
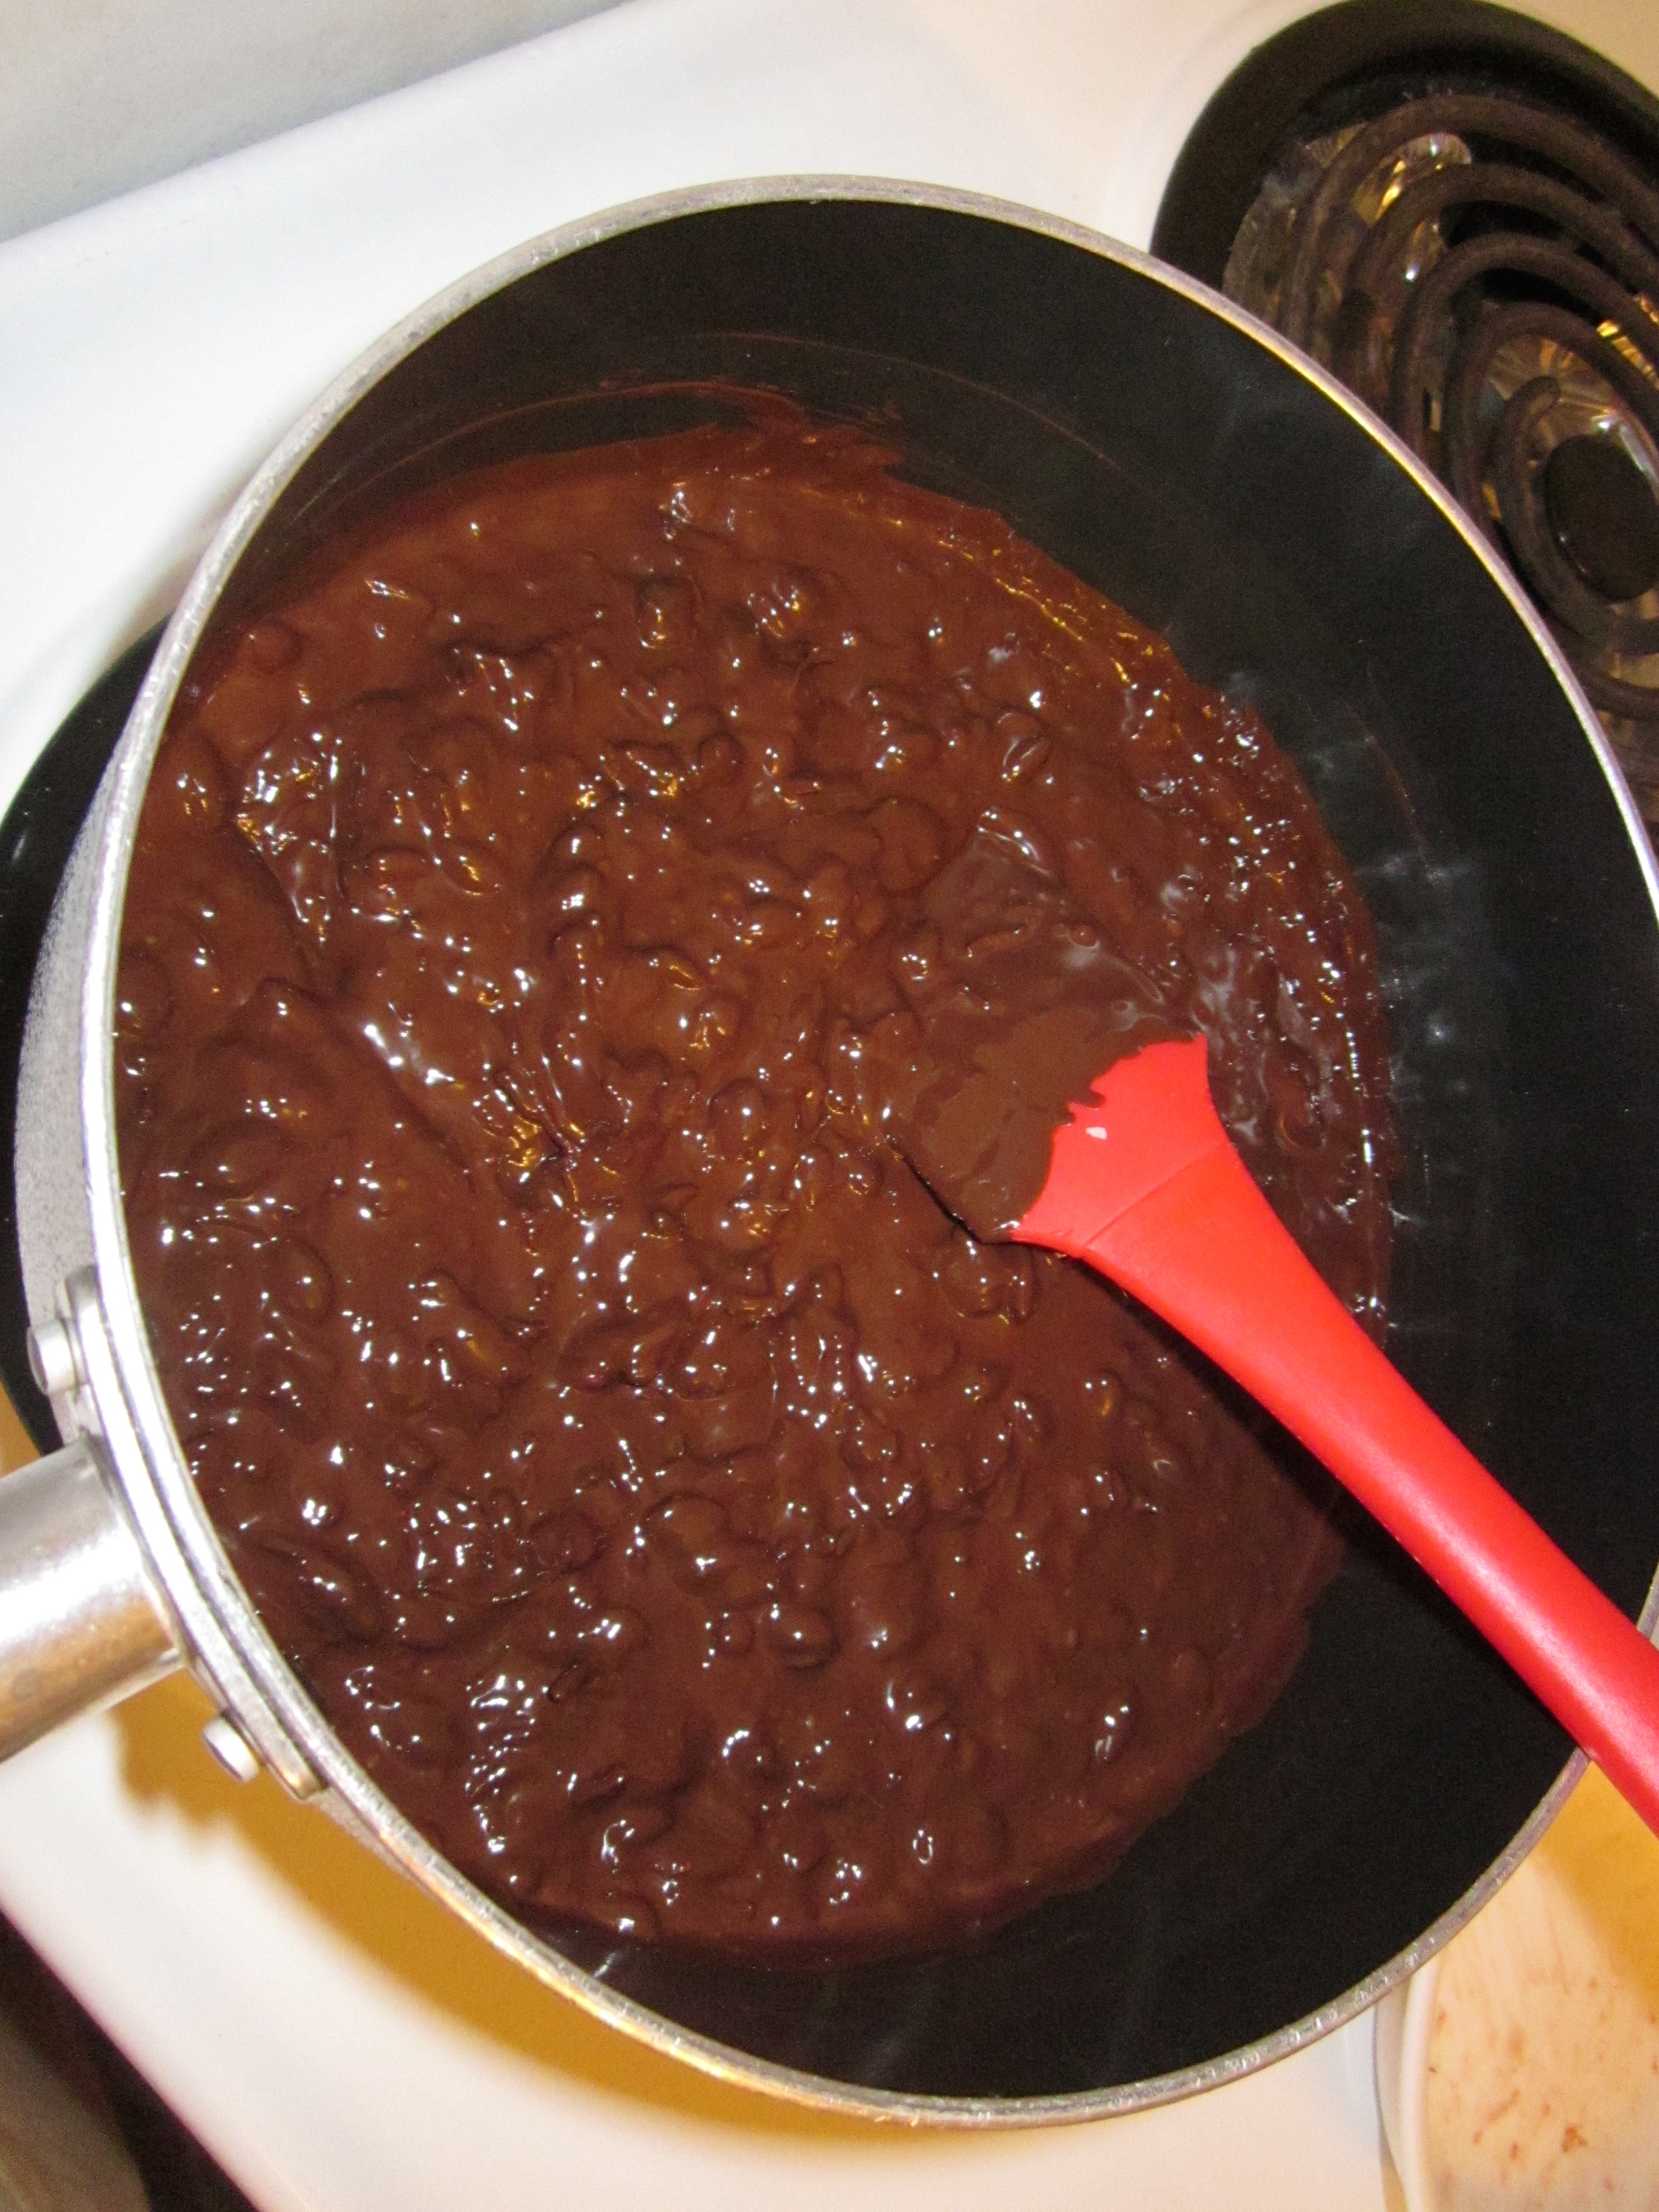
- Melt the chocolate in a saucepan over low heat, checking it often and stirring frequently so that it doesn’t burn. While the chocolate is melting, prepare 1 large (or 2 medium-small baking sheets) with a layer of wax paper or a silicone baking mat.

Start heating the chocolate slowly… 
… until it’s fully melted. - Once the chocolate is fully melted, remove the pan from the heat and add in your mix-ins. Stir gently until they’re well incorporated.

Add all of your mix-ins into the saucepan. 
Stir gently to combine. - Spread the mixture out onto the wax paper or baking mat, ideally in the shape of a rectangle, so that it’s about half a centimetre thick. Place your baking sheet in the fridge and let the chocolate cool until its hardened (about 30 minutes).

Spread the mixture out evenly into a rectangular shape. 
Chill for about 30 minutes until the chocolate has hardened. - When the chocolate is fully cooled, gently peel it off the mat/wax paper and break it into medium-large chunks. Try to work quickly so that the chocolate doesn’t melt – it needs to stay cool to ‘snap’ nicely into pieces of bark.

Break into various-sized pieces to create your ‘bark’. - Store the chocolate in the refrigerator until you’re ready to enjoy. If you’re going to give it as a gift, just package it in some cellophane or a glass jar, add a ribbon and you’re good to go!